Do you want to set up categories and tags for your WordPress pages, but don’t know how to get started?
Categories and tags help you sort your blog posts and make it easier for users to find what they are looking for. However, they’re only available for posts by default, not for pages.
In this article, we will show you how to add categories and tags for WordPress pages.
Why Add Categories and Tags to WordPress Pages?
Categories and tags are default WordPress taxonomies for your blog posts. Categories are a broad grouping of content, while tags help describe specific details of your content. You can read more about the difference in our guide to categories vs tags.
By default, both categories and tags are only limited to blog posts in WordPress.
When you create a new page, you will notice that there is no option to add categories or tags to your WordPress page.
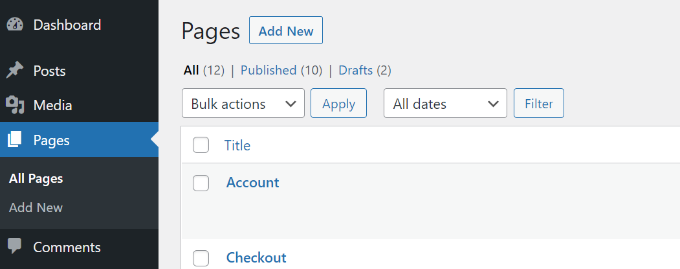
However, you may want to add categories and tags to your WordPress pages. It can help you to organize and sort your content if you have a lot of pages. It can also improve your site navigation and help your visitors to find related pages on your WordPress website more easily.
If you have multiple sales pages for different products in your online store, for example, then you can group them under broad categories.
You can do the same for different feature pages for your apps and software. For example, OptinMonster groups multiple feature pages under the ‘Features’ category.
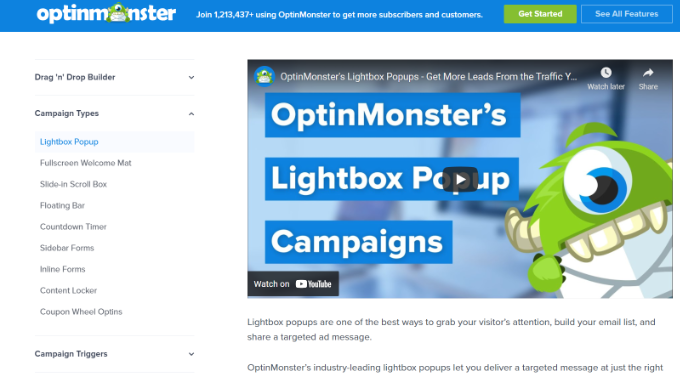
Let’s see how you can add categories and tags to your WordPress pages.
Adding Categories and Tags to WordPress Pages
The easiest way of setting up categories and tags for your WordPress pages is by using the Pages with category and tag plugin. It’s a free WordPress plugin and works out of the box with no need for additional configuration.
The first thing you need to do is install and activate the plugin. For more details, please see our guide on how to install a WordPress plugin.
Once activated, go to Pages » Add New and you will find post categories and tags now available for your WordPress pages.
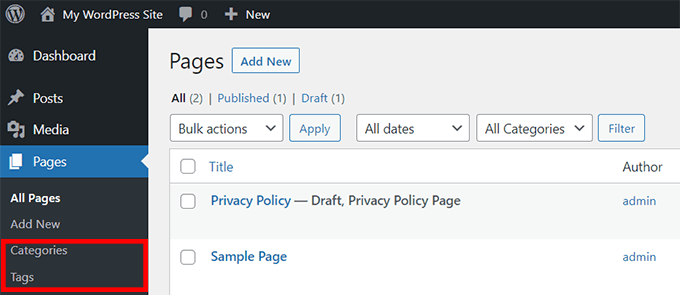
Next, you can create categories and tags for your pages.
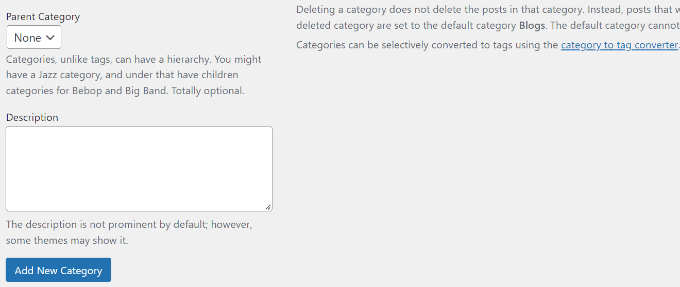
To add a category, head over Pages » Categories from your WordPress dashboard and then enter a ‘Name’ and ‘Slug’ for your category.
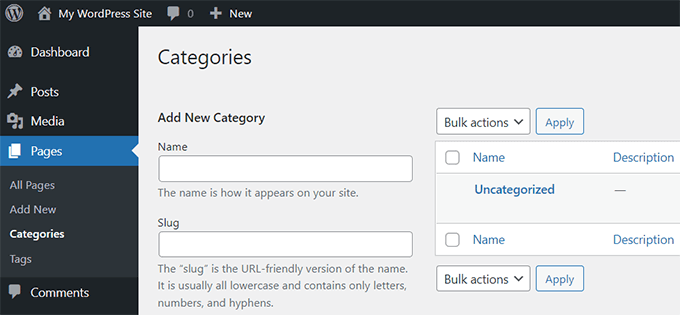
After that, you can scroll down and select a ‘Parent Category’ for your category.
Once you’ve entered these details, simply click the ‘Add New Category’ button.
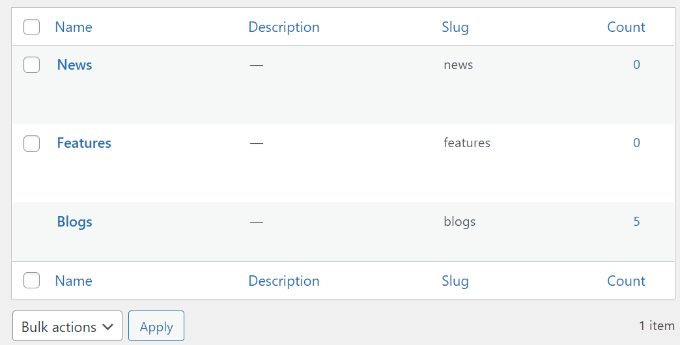
You can then view your newly added category for your pages.
If you want to delete a category, then simply click the checkbox next to it and select ‘Delete’ from the Bulk Action dropdown and click the ‘Apply’ button.
Next, you can assign your WordPress pages to the categories you just created.
To start, simply edit or create a new page. From the WordPress content editor, you can now select the relevant category from the menu on your right. For instance, we created a feature page and marked it under the Features category.
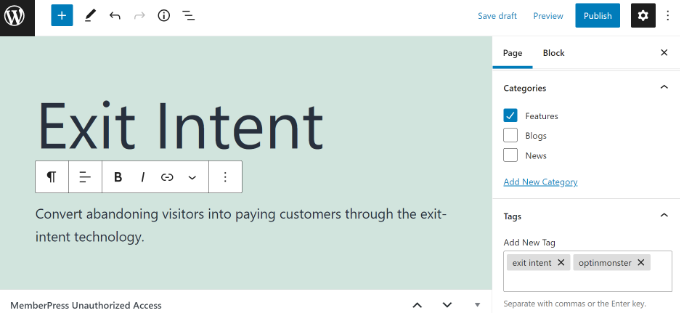
Similarly, you can add tags for your WordPress page under the ‘Tags’ field. If you want to add multiple tags, then simply separate them using a comma.
For example, you can add keywords and phrases that help describe your content. In our case, we added the terms ‘exit intent’ and ‘OptinMonster’ as tags.
After selecting your category and adding tags, simply update or publish your WordPress page.
We hope this article helped you add post categories and tags to your WordPress pages. You may also want to look at your guide on how to create a business email address, and the best email marketing software.
If you liked this article, then please subscribe to our YouTube Channel for WordPress video tutorials. You can also find us on Facebook and Facebook.
The post How to Add Categories and Tags for WordPress Pages first appeared on WPExperiencecoder.